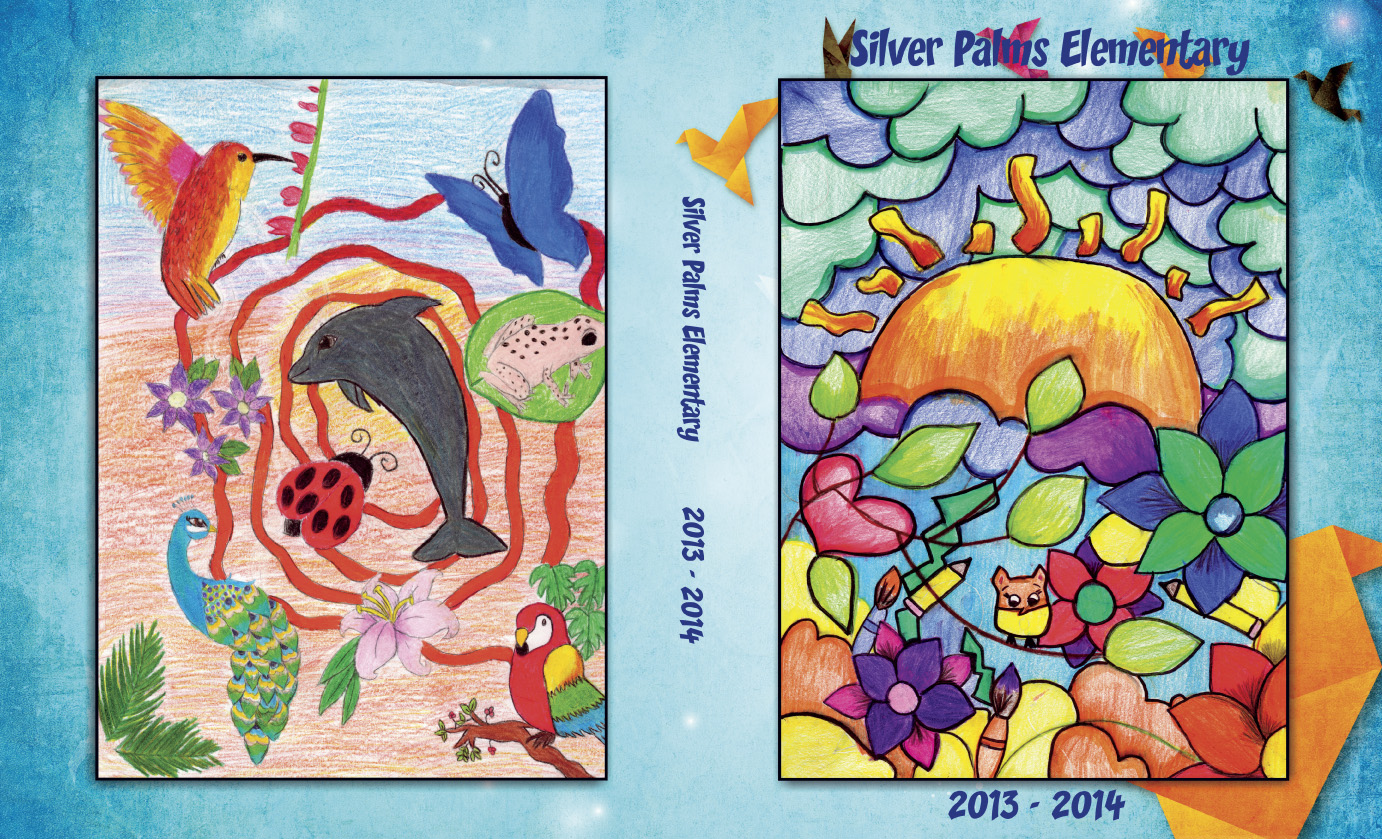
 One of the more common cover art design options is to use student artwork. Many schools will suggest a theme for their cover and conduct a student art contest. The drawings are then judged and the winner, or winners, drawing is placed on the cover as the design.
But how do you get that drawing onto your Pictavo cover? Here are some pointers:
1. These drawings are, preferably, designed on a standard sheet of printer paper – 8 ½” x 11”. Please scan these drawings at 300 dpi. Refer to your scanner’s manual for instructions.
2. Save the drawings as .jpgs and upload them to Pictavo into a Candid Images folder.
3. You then have two design layout options:
1. Bleed the image to the edge: This means that the drawn image fills one entire cover side (front or back, depending on placement). To do this, you have to expand the image through to the outside edge of the yellow border, but be careful that there is no significant artwork past the green border “safe zone”. Anything past that green border runs the risk of being trimmed.
2. Frame the drawing (preferred): We recommend placing the entire image within the green border “safe zone” and adding a solid color background behind the image. This will give the artwork a “framed” look and enhances the cover with additional color. This is the preferred layout option because it enables you to keep the integrity of the full drawing without the risk of any it being trimmed.
Using this method also gives you the option of adding more than one drawing to either side of the cover. For example, many schools will use a contest winning drawing for the front cover, and runners up drawings for the back cover.
For instructions on how to add this color background, click here to watch an instructional video, or go to the Pictavo Help menu under “+How to / Building your Cover / How do I add a color background to my custom cover?”.
The students will be thrilled to see their drawings on the cover! Other ideas for “runners up” drawing or contest participants – how about scanning and uploading the drawings and using them as page/section dividers in your book… or create a collage page of all of the designs… or use them as clip art! This way, all of the artists are represented.
And don’t forget to give credit to the artists by labeling the cover drawings with text boxes that ready “Cover Design by” or “Artist”.
These student drawn covers can really set a personalized tone for your school’s book.
